I've been doing some searching about Milk Paint and Chalk Paint lately.
In my search for chalk paint and milk paint I found several sources that shared their DIY info, and found that they don't use the same ingredients (duh huh?).
I love the idea that either paint gives an antique finish look and that it doesn't require sanding and prepping of the furniture. I was determined to use it somewhere sometime. I have heard (or read and seen) a lot about Annie Sloan Chalk Paint, but as much as I wanted to use it, I didn't want to pay the big bucks for it, especially when there are several simple recipes or homemade versions available.
So, I decided I'd make my own.
I am no scholar on these types of paints, or any paint for that matter, but I thought I would share what I learned, and a few of my favorite sources.
Lets begin with Chalk Paint
(since that is what I decided to use)
from The Design Pages:
Chalk paint can be applied to furniture and it is not necessary to sand or prime beforehand. It's a bit thicker than conventional paint and dries with a chalky finish that will usually require you to wax.
1. I used leftover paint - free
2. Unsanded Grout - $9.99 (you might want to buy a small bag:)
3. Stir stick, container and water - free
1. You will need 2 tbsp grout for every cup of paint. Mix the grout and water until they are blended together and there's no lumps.
2. Add the paint and stir. Many of the recipes I saw suggested using a food blender but I didn't and it wasn't lumpy at all.
I have used Annie Sloan in the past and I've always liked it but at $50 a pop I'm definitely sticking with my homemade version. It's hard to detect any change at all so I'm going to say it's worth the tiny effort to make some.
---
from Savvy City Farmer:
Chalk is actually Calcium Carbonate and the product can be purchased in health food stores and at numerous on-line stores. The cost is about $4.00 for 12 ounces.
Whiting powder will also give you a similar look for approximately $3.00 for a 1 pound package.
Plaster of Paris also works well and can be purchased at Michaels or Home Depot. Home Depot sells 3 pounds for approximately $6.00.
To get the chalk paint look just add ANY ONE of the above to your latex paint. The amount you use depends on how chalky you want the paint to look when dry. I experimented using the sample size paints from Home Depot and used a ratio of 2/3 paint to 1/3 product. You may need to add a few drops of water to the paint and occasionally stir it if it gets too thick.
I saved and washed out glass jars to mix the paint in. I have used the paint over and over again and each time I just added a couple drops of water and stirred really good.
You can also create custom colors by adding acrylic craft paint to the latex and powder mixture. Chalk paint is cheap to make and now you can have it in any color.
---
So now, about Milk Paint
Martha Stewart shares a Milk Paint Recipe -
the needed materials include lemon, skim milk, sieve, cheese cloth, paint powder or acrylic paint.
It sounds easy enough to create, but the milk kinda concerns me. I just couldn't get used to the idea so quickly.
-
Another recipe can be found at Earth Pigments -
with a few more ingredients or materials.
-
Miss Mustard Seed shares about Milk Paint Basics - no recipe, but she has her own line of Milk Paint (a powder you mix on your own) and a few other products that sound great. She also has several milk paint tutorials to share.
Maybe someday I'll do something with milk paint, but for now, I'm sticking with chalk paint.
In my search for chalk paint and milk paint I found several sources that shared their DIY info, and found that they don't use the same ingredients (duh huh?).
I love the idea that either paint gives an antique finish look and that it doesn't require sanding and prepping of the furniture. I was determined to use it somewhere sometime. I have heard (or read and seen) a lot about Annie Sloan Chalk Paint, but as much as I wanted to use it, I didn't want to pay the big bucks for it, especially when there are several simple recipes or homemade versions available.
So, I decided I'd make my own.
I am no scholar on these types of paints, or any paint for that matter, but I thought I would share what I learned, and a few of my favorite sources.
Lets begin with Chalk Paint
(since that is what I decided to use)
 |
| image from Rusted Gingham |
Here are a few sources I found and compared:
My original favorite was The Design Pages, because she refers to Annie Sloan, and I have heard so much about that paint.
from The Design Pages:
Chalk paint can be applied to furniture and it is not necessary to sand or prime beforehand. It's a bit thicker than conventional paint and dries with a chalky finish that will usually require you to wax.
1. I used leftover paint - free
2. Unsanded Grout - $9.99 (you might want to buy a small bag:)
3. Stir stick, container and water - free
1. You will need 2 tbsp grout for every cup of paint. Mix the grout and water until they are blended together and there's no lumps.
2. Add the paint and stir. Many of the recipes I saw suggested using a food blender but I didn't and it wasn't lumpy at all.
I have used Annie Sloan in the past and I've always liked it but at $50 a pop I'm definitely sticking with my homemade version. It's hard to detect any change at all so I'm going to say it's worth the tiny effort to make some.
---
The Savvy City Farmer is a good site too, especially since it gives some substitute supply ideas and color adding hints.
from Savvy City Farmer:
Chalk is actually Calcium Carbonate and the product can be purchased in health food stores and at numerous on-line stores. The cost is about $4.00 for 12 ounces.
Whiting powder will also give you a similar look for approximately $3.00 for a 1 pound package.
Plaster of Paris also works well and can be purchased at Michaels or Home Depot. Home Depot sells 3 pounds for approximately $6.00.
To get the chalk paint look just add ANY ONE of the above to your latex paint. The amount you use depends on how chalky you want the paint to look when dry. I experimented using the sample size paints from Home Depot and used a ratio of 2/3 paint to 1/3 product. You may need to add a few drops of water to the paint and occasionally stir it if it gets too thick.
I saved and washed out glass jars to mix the paint in. I have used the paint over and over again and each time I just added a couple drops of water and stirred really good.
You can also create custom colors by adding acrylic craft paint to the latex and powder mixture. Chalk paint is cheap to make and now you can have it in any color.
---
You do not have to measure precisely and here's an easy way to do it. Mark four equal lines on a clear plastic container. Add Plaster of Paris to reach the very first line. Then mix in about a tablespoon of water at a time until the Plaster of Paris is nice and smooth. You don't want any lumps. Then fill to the top line with paint and stir well. Super easy! I've found that if you don't mix the water into the Plaster of Paris first, the paint sometimes ends up gritty and no matter how much water you add at that point, you just can't get rid of the grit. And different brands of paint are thicker than others, so just adjust as needed. And just like regular chalk paint, the homemade version will thicken as it sits, so just add more water as needed. Have fun and experiment!
---
It seems to me that both milk paint and chalk paint require waxing to complete the finish.
So here is some info on that:
Shades of Amber shares how to use chalk paint (and wax).
and
Miss Mustard Seed has a great video tutorial = Waxes 101.
---
---
It seems to me that both milk paint and chalk paint require waxing to complete the finish.
So here is some info on that:
Shades of Amber shares how to use chalk paint (and wax).
and
Miss Mustard Seed has a great video tutorial = Waxes 101.
---
So now, about Milk Paint
 |
| image from Rusted Gingham |
Martha Stewart shares a Milk Paint Recipe -
the needed materials include lemon, skim milk, sieve, cheese cloth, paint powder or acrylic paint.
It sounds easy enough to create, but the milk kinda concerns me. I just couldn't get used to the idea so quickly.
-
Another recipe can be found at Earth Pigments -
with a few more ingredients or materials.
-
Miss Mustard Seed shares about Milk Paint Basics - no recipe, but she has her own line of Milk Paint (a powder you mix on your own) and a few other products that sound great. She also has several milk paint tutorials to share.
Maybe someday I'll do something with milk paint, but for now, I'm sticking with chalk paint.
-----
Now a bit of FYI for your DIY, just because I found it in my search ...
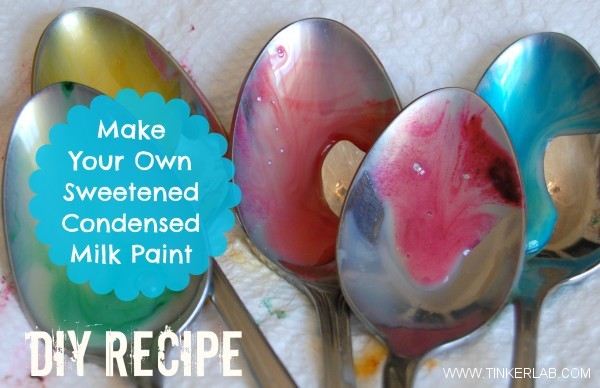
There is a milk paint that uses sweetened condensed milk.
Ya, really!
The recipe can be found at Tinker Lab
I don't recommend it for your furniture ;)
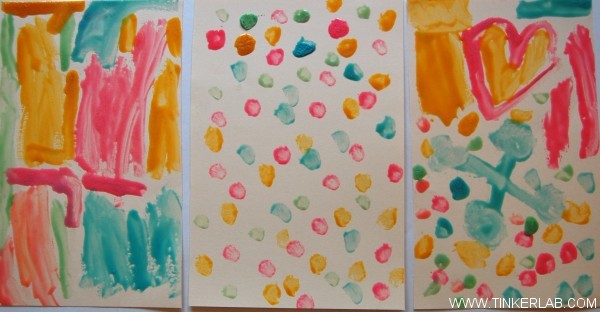
But, your kids might enjoy having some fun with it on paper.
It's for kids painting
(and eating if they desire)


---
Well, there is so much info in this post that I decided not to add my projects completed with chalk paint. I'm saving that for it's own post. It's coming up next!
